As I mentioned in my previous post, I’ve been using Pi every day for work and for fun for the past couple of months. More recently, I’ve subscribed to Synthetic because I saw they were hosting some open-source models and I wanted to try them. However, Synthetic is not one of the built-in providers in Pi, but Pi has multiple ways to still configure providers to be used with it. Let’s walk through both of those options.
Synthetic both hosts models and routes some through partners. It exposes OpenAI-compatible endpoints, plus some additional endpoints and features when you’re on a paid plan.
Defining a models.json file
The quickest way to get access is to define a models.json file in your Pi agent directory. By default, that file lives at ~/.pi/agent/models.json.
As an example, for Synthetic this is what it could look like:
{
"providers": {
"synthetic": {
"baseUrl": "https://api.synthetic.new/openai/v1",
"apiKey": "SYNTHETIC_API_KEY",
"api": "openai-completions",
"compat": {
"supportsDeveloperRole": false,
"supportsReasoningEffort": true,
"reasoningEffortMap": {
"minimal": "low",
"low": "low",
"medium": "medium",
"high": "high",
"xhigh": "high"
}
},
"models": [
{
"id": "hf:zai-org/GLM-5",
"reasoning": true,
"maxTokens": 65536
},
{
"id": "hf:moonshotai/Kimi-K2.5",
"reasoning": true,
"input": ["text", "image"],
"maxTokens": 65536
}, { ... other Synthetic models ... }
"id": "hf:nvidia/Kimi-K2.5-NVFP4", "reasoning": true, "input": ["text", "image"], "maxTokens": 65536 }, { "id": "hf:MiniMaxAI/MiniMax-M2.5", "reasoning": true, "maxTokens": 65536 }, { "id": "hf:zai-org/GLM-4.7-Flash", "reasoning": true, "maxTokens": 65536 }, { "id": "hf:nvidia/NVIDIA-Nemotron-3-Super-120B-A12B-NVFP4", "reasoning": true, "maxTokens": 65536 }, { "id": "hf:zai-org/GLM-4.7", "reasoning": true, "maxTokens": 65536 } ]
}
}
}Here, apiKey can either be the name of an environment variable, like SYNTHETIC_API_KEY, or a shell command prefixed with !. For example, if you keep the key in 1Password, that could look like !op read 'op://vault/item/credential'.
For api, we use openai-completions, since Synthetic exposes an OpenAI-compatible endpoint.1
Then you define the Synthetic models you want to use in Pi. The only required field is id, but you can also add fields like reasoning, input, and maxTokens so Pi knows which features and limits each model supports. In this example, all of the listed Synthetic models support reasoning, Kimi K2.5 and NVIDIA’s Kimi K2.5 variant also accept image input, and every model is configured with its maximum output token limit.
Furthermore, you might also need to define compatibility flags. This is useful when a provider is OpenAI-compatible but still differs in a few field names or behaviors. For Synthetic, the ones to set are disabling the developer role and mapping Pi’s reasoning levels to the values Synthetic expects. Pi documents the available compatibility fields in its custom models documentation.
You can also add fields like cost and contextWindow, but they are optional. If you want the right values for those, you can look them up in the Synthetic models page and the OpenAI-compatible models reference.
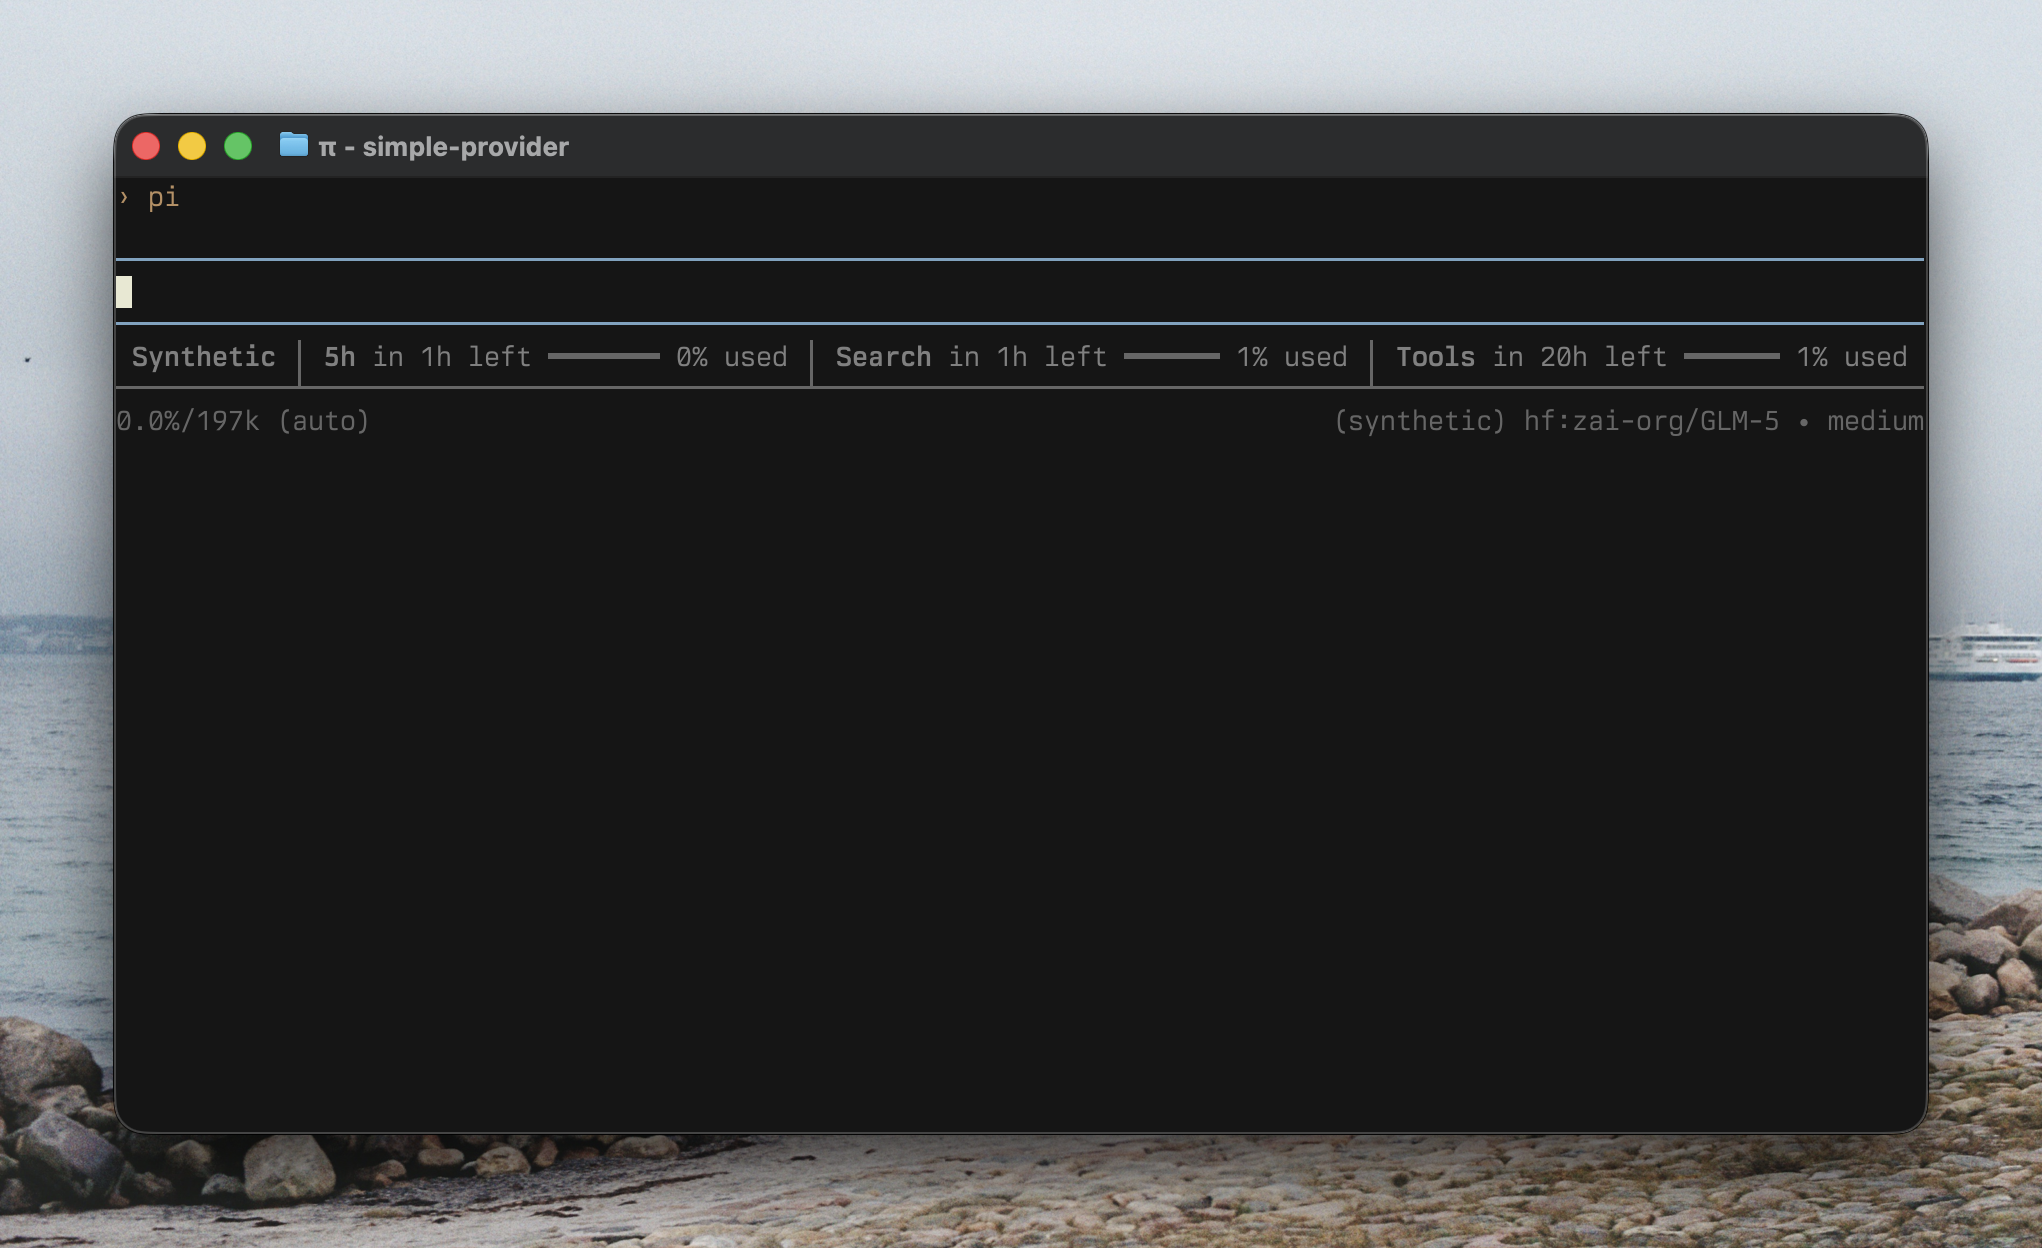
Once the file is saved and SYNTHETIC_API_KEY is available in your environment, open /model and you should see the new models.
Opening /model, selecting a Synthetic model loaded from models.json, then prompting it in Pi.
Custom provider extension with registerProvider()
For quick tests or private endpoints, the models.json approach is fine and works perfectly, and is even how I used Synthetic at the beginning. However, if you want to share the provider with other people or add additional features like related custom tools, like I did for pi-synthetic, it is better to define an extension that registers the provider.
To do so, you call registerProvider() on the ExtensionAPI and pass it the provider configuration.
import type { ExtensionAPI } from "@mariozechner/pi-coding-agent";
const REASONING_EFFORT_MAP = { ... reasoning effort map ... } as const;
minimal: "low", low: "low", medium: "medium", high: "high", xhigh: "high",} as const;
export default function (pi: ExtensionAPI) {
pi.registerProvider("synthetic", {
baseUrl: "https://api.synthetic.new/openai/v1",
apiKey: "SYNTHETIC_API_KEY",
api: "openai-completions", models: [ ... model definitions ... ],
{ id: "hf:zai-org/GLM-5", name: "zai-org/GLM-5", reasoning: true, input: ["text"], cost: { input: 1, output: 6, cacheRead: 1, cacheWrite: 0, }, contextWindow: 196608, maxTokens: 65536, compat: { supportsDeveloperRole: false, supportsReasoningEffort: true, reasoningEffortMap: REASONING_EFFORT_MAP, }, }, { id: "hf:moonshotai/Kimi-K2.5", name: "moonshotai/Kimi-K2.5", reasoning: true, input: ["text", "image"], cost: { input: 0.45, output: 3.4, cacheRead: 0.45, cacheWrite: 0, }, contextWindow: 262144, maxTokens: 65536, compat: { supportsDeveloperRole: false, supportsReasoningEffort: true, reasoningEffortMap: REASONING_EFFORT_MAP, }, }, { id: "hf:nvidia/Kimi-K2.5-NVFP4", name: "nvidia/Kimi-K2.5-NVFP4", reasoning: true, input: ["text", "image"], cost: { input: 0.45, output: 3.4, cacheRead: 0.45, cacheWrite: 0, }, contextWindow: 262144, maxTokens: 65536, compat: { supportsDeveloperRole: false, supportsReasoningEffort: true, reasoningEffortMap: REASONING_EFFORT_MAP, }, }, { id: "hf:MiniMaxAI/MiniMax-M2.5", name: "MiniMaxAI/MiniMax-M2.5", reasoning: true, input: ["text"], cost: { input: 0.4, output: 2, cacheRead: 0.4, cacheWrite: 0, }, contextWindow: 191488, maxTokens: 65536, compat: { supportsDeveloperRole: false, supportsReasoningEffort: true, reasoningEffortMap: REASONING_EFFORT_MAP, }, }, { id: "hf:zai-org/GLM-4.7-Flash", name: "zai-org/GLM-4.7-Flash", reasoning: true, input: ["text"], cost: { input: 0.1, output: 0.5, cacheRead: 0.1, cacheWrite: 0, }, contextWindow: 196608, maxTokens: 65536, compat: { supportsDeveloperRole: false, supportsReasoningEffort: true, reasoningEffortMap: REASONING_EFFORT_MAP, }, }, { id: "hf:nvidia/NVIDIA-Nemotron-3-Super-120B-A12B-NVFP4", name: "nvidia/NVIDIA-Nemotron-3-Super-120B-A12B-NVFP4", reasoning: true, input: ["text"], cost: { input: 0.3, output: 1, cacheRead: 0.3, cacheWrite: 0, }, contextWindow: 262144, maxTokens: 65536, compat: { supportsDeveloperRole: false, supportsReasoningEffort: true, reasoningEffortMap: REASONING_EFFORT_MAP, }, }, { id: "hf:zai-org/GLM-4.7", name: "zai-org/GLM-4.7", reasoning: true, input: ["text"], cost: { input: 0.45, output: 2.19, cacheRead: 0.45, cacheWrite: 0, }, contextWindow: 202752, maxTokens: 65536, compat: { supportsDeveloperRole: false, supportsReasoningEffort: true, reasoningEffortMap: REASONING_EFFORT_MAP, }, }, ], });
}To see the full model definition, here is the actual provider entry point in the published extension: src/extensions/provider/index.ts. The full model list used by the extension is here: src/extensions/provider/models.ts.
In addition, if your provider requires OAuth or any other custom login flow, registering the provider through an extension is also the way to go, since models.json does not support it. Pi documents that in its custom providers documentation.
Adding custom commands
Furthermore, now that we’ve created an extension, we can also define custom tools, custom commands, and even integrations with other extensions.
As an example, we can define a /synthetic:quotas command that fetches and displays the current quotas for your subscription. Here’s what it could look like for a very small component:
import type { ExtensionAPI } from "@mariozechner/pi-coding-agent";
import { Text } from "@mariozechner/pi-tui";
function pct(requests: number, limit: number): number {
if (!limit) return 0;
return Math.round((requests / limit) * 100);
}
export default function (pi: ExtensionAPI) {
pi.registerCommand("synthetic:quotas", {
description: "Display Synthetic API usage quotas",
handler: async (_args, ctx) => {
const response = await fetch("https://api.synthetic.new/v2/quotas", {
headers: {
Authorization: `Bearer ${process.env.SYNTHETIC_API_KEY}`,
},
});
if (!response.ok) {
ctx.ui.notify("Failed to fetch quotas", "error");
return;
}
const quotas = await response.json();
const lines = [
"Synthetic quotas",
"",
`Subscription: ${quotas.subscription.requests}/${quotas.subscription.limit} (${pct(quotas.subscription.requests, quotas.subscription.limit)}%)`,
`Search: ${quotas.search.hourly.requests}/${quotas.search.hourly.limit} (${pct(quotas.search.hourly.requests, quotas.search.hourly.limit)}%)`,
`Free tool calls: ${quotas.freeToolCalls.requests}/${quotas.freeToolCalls.limit} (${pct(quotas.freeToolCalls.requests, quotas.freeToolCalls.limit)}%)`,
"",
"Press Enter or Esc to close",
];
await ctx.ui.custom<null>((_tui, theme, _keybindings, done) => ({
render: () => new Text(theme.fg("text", lines.join("\n")), 0, 0),
invalidate: () => true,
handleInput: (data: string) => {
if (data === "\r" || data === "\u001b") done(null);
},
}));
},
});
}Here is what that looks like:
Running /synthetic:quotas from the simple extension and showing the small quota popup.
You can even go further and build richer components. Here is the same command in pi-synthetic, where it shows progress bars and projections based on how much of the current period has already elapsed.
Running /synthetic:quotas from pi-synthetic, with progress bars and projected usage.
And you could even also integrate with other extensions through Pi’s event bus. For example, the current extension emits usage updates for the pi-sub-bar extension to consume.
pi-sub-bar picking up quota updates emitted by the Synthetic extension.
The integration code for that is here: src/extensions/command-quotas/sub-integration.ts.
Wrap up
Personally, the two models I use the most currently on Synthetic are Kimi K2.5 and GLM-5. I’ve been curious about open-source models for a while, but most of the times I tried them before, there were always some issues, or they just did not work as well as models from the bigger labs. That has changed a lot with Synthetic. They are pretty rigorous about making sure models actually work correctly, including things like tool calling, which is part of why they built Synbad.
In addition, Pi’s flexibility meant it was pretty easy to not only use those models, but also everything around Synthetic itself, like displaying quotas inside Pi, adding a custom tool for Synthetic’s web search endpoint, and even using their embeddings endpoint for other features.2
Finally, if you want to use Synthetic in Pi, here’s my extension: @aliou/pi-synthetic. And here is my referral link to Synthetic: synthetic.new, where you get $10 in subscription credit when you sign up.
Footnotes
-
Synthetic also exposes an Anthropic-compatible API that you can see in the documentation here.